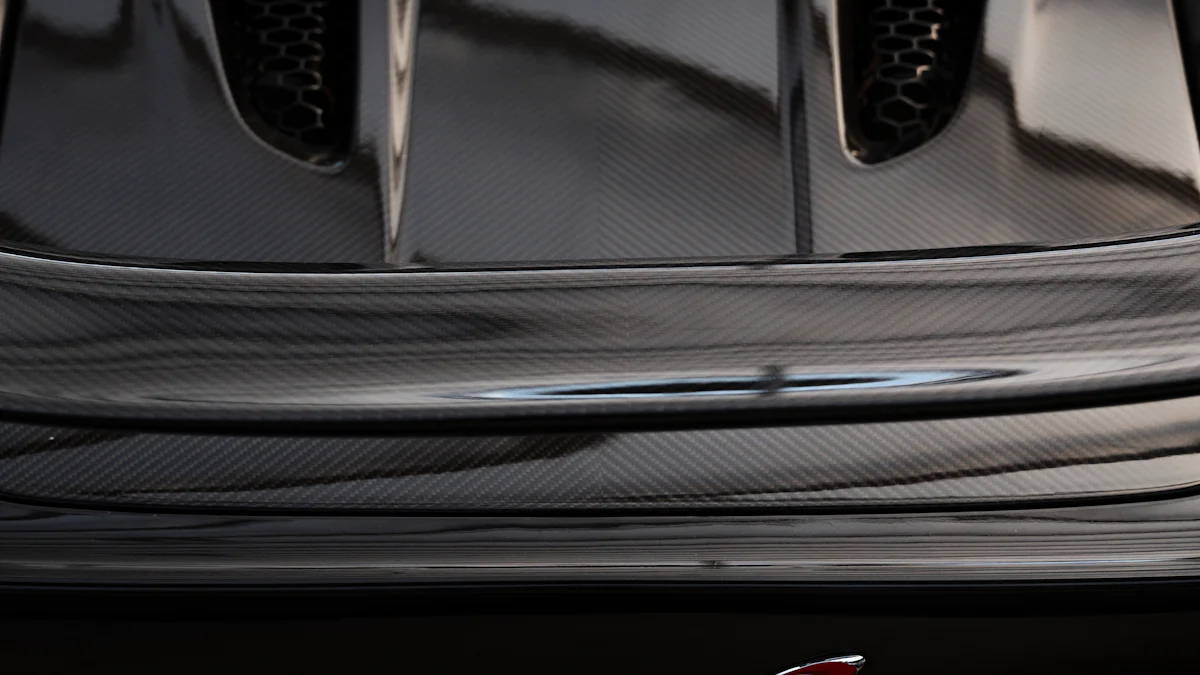
Carbon fiber provides exceptional advantages for vehicles. Its lightweight properties contribute to decreased fuel consumption, with a 10% reduction in weight potentially saving between 6% to 8% in fuel. Additionally, carbon fiber enhances vehicle safety by offering a robust yet lightweight structure. To fully capitalize on these benefits, proper installation is crucial. Carbon Fiber installation for your vehicle demands precision and care, as accurate techniques are essential to maximize performance and durability.
Preparation for Carbon Fiber Installation
Understanding Carbon Fiber
Carbon fiber stands out as a lightweight yet robust material. This material consists of thin, strong crystalline filaments of carbon. These filaments reinforce other materials, enhancing performance and durability. Carbon fiber composites offer unparalleled strength, making them ideal for applications requiring maximum durability.
Types of Carbon Fiber
Manufacturers produce several types of carbon fiber. Each type varies in strength, flexibility, and application suitability. The most common types include standard modulus, intermediate modulus, and high modulus fibers. Standard modulus fibers provide a balance between strength and flexibility. Intermediate modulus fibers offer higher strength with moderate flexibility. High modulus fibers deliver maximum strength with minimal flexibility.
Benefits of Using Carbon Fiber
Carbon fiber provides significant advantages over traditional materials like steel or aluminum. This material is lighter than aluminum yet stronger than steel. Carbon fiber does not change size with temperature fluctuations. The stiffness and rigidity of carbon fiber make it suitable for various industries, including aerospace and automotive. Vehicle components made from carbon fiber improve safety due to their high impact energy absorption capacity.
Gathering Materials and Tools
Proper preparation requires gathering the right materials and tools. This step ensures a smooth installation process.
List of Required Materials
Carbon fiber sheets or panels
Epoxy resin adhesive
Sandpaper (various grits)
Primer
Painter’s tape
Essential Tools for Installation
Measuring tape
Solid carbide dagger-type drill bits
Rubber roller
Brush or roller for resin application
Safety goggles and gloves
Safety Precautions
Safety remains a top priority during the installation process. Proper precautions protect both the installer and the workspace.
Personal Protective Equipment
Wear safety goggles to protect your eyes from dust and debris. Use gloves to shield your hands from chemicals and sharp edges. A dust mask prevents inhalation of fine particles.
Workspace Safety Tips
Ensure adequate ventilation in the workspace to disperse fumes. Keep the area clean and organized to prevent accidents. Use painter’s tape to cover surfaces that require protection during drilling or cutting.
Carbon Fiber Installation Process for Your Vehicle
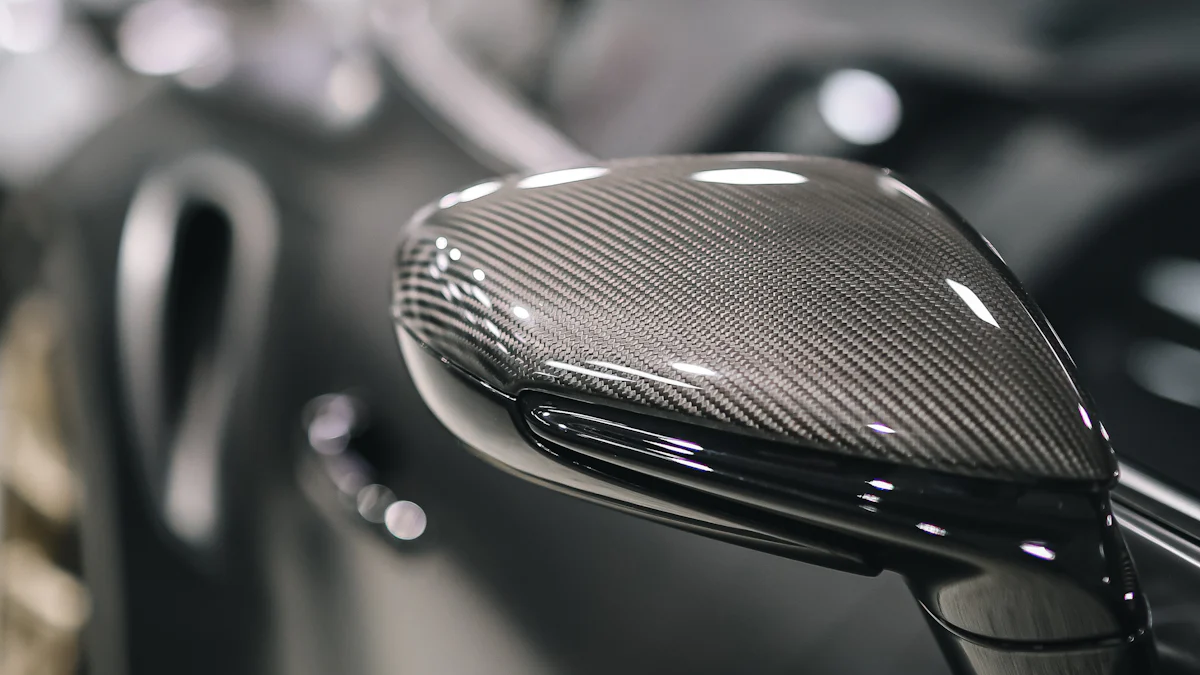
Surface Preparation
Cleaning the Surface
Begin the Carbon Fiber installation for your vehicle by cleaning the surface thoroughly. Use a mild detergent mixed with water to remove dirt and grease. Rinse the area with clean water. Dry the surface using a lint-free cloth. Ensure no moisture remains on the surface.
Sanding and Priming
Sanding prepares the surface for better adhesion. Use sandpaper with medium grit to roughen the area. Sand in a circular motion to create an even texture. After sanding, apply a primer to the surface. The primer enhances the bond between the carbon fiber and the vehicle. Allow the primer to dry completely before proceeding.
Cutting and Fitting Carbon Fiber
Measuring and Marking
Accurate measurements ensure a perfect fit during the Carbon Fiber installation for your vehicle. Use a measuring tape to determine the dimensions of the area. Mark the measurements on the carbon fiber sheet with a pencil. Double-check the measurements to avoid errors.
Cutting Techniques
Cutting the carbon fiber requires precision. Use a sharp utility knife or scissors designed for composite materials. Follow the marked lines carefully. Apply steady pressure to achieve clean cuts. Avoid rushing to prevent mistakes.
Applying Adhesive
Choosing the Right Adhesive
Selecting the correct adhesive is crucial for a successful Carbon Fiber installation for your vehicle. Epoxy resin adhesive works best for bonding carbon fiber. This adhesive provides strong and durable bonds. Ensure the adhesive suits the specific type of carbon fiber used.
Application Methods
Apply the adhesive evenly across the prepared surface. Use a brush or roller to spread the adhesive. Ensure complete coverage without leaving gaps. Align the carbon fiber with the marked area on the vehicle. Press firmly to secure the bond. Allow the adhesive to cure according to the manufacturer’s instructions.
Attaching Carbon Fiber
Aligning and Placing
Align the carbon fiber sheet with precision. Use the marked lines on the vehicle as a guide. Ensure that the edges of the carbon fiber match the measurements. A helper can assist in holding the sheet steady. This prevents misalignment during placement.
Place the carbon fiber gently onto the adhesive-coated surface. Start from one end and work towards the other. Press the sheet down gradually. This method helps avoid air bubbles. Use a rubber roller to ensure even contact. Roll over the entire surface with firm pressure. This step ensures a strong bond between the carbon fiber and the vehicle.
Securing and Curing
Secure the carbon fiber sheet firmly to the vehicle. Use clamps or weights to hold the sheet in place. This prevents movement during the curing process. Follow the manufacturer’s instructions for curing time. The adhesive requires sufficient time to set properly.
Check the alignment periodically during curing. Adjust the position if necessary. Avoid disturbing the setup once satisfied with the alignment. Allow the adhesive to cure completely. This step ensures maximum strength and durability.
After curing, remove any clamps or weights. Inspect the installation for any loose edges. Reapply adhesive if needed. Ensure that every part of the carbon fiber is securely attached. This step guarantees a successful installation.
Finishing Touches
Trimming Excess Material
Tools for Trimming
You need the right tools to trim excess carbon fiber material effectively. Use a sharp utility knife or specialized scissors designed for composite materials. A rotary tool with a cutting wheel can also help achieve precise cuts. Ensure all tools are in good condition to avoid jagged edges.
Techniques for a Clean Finish
Achieving a clean finish requires careful technique. Hold the carbon fiber sheet steady while trimming. Follow the marked lines closely to maintain accuracy. Apply consistent pressure to avoid uneven cuts. Use sandpaper to smooth any rough edges after trimming. This step ensures a professional appearance.
Polishing and Sealing
Polishing Methods
Polishing enhances the appearance of carbon fiber. Use a soft cloth and a non-abrasive polish to bring out the shine. Apply the polish in circular motions for even coverage. Buff the surface gently until you achieve the desired gloss. Regular polishing maintains the aesthetic appeal of carbon fiber.
Sealing for Durability
Sealing protects carbon fiber from environmental damage. Choose a high-quality sealant suitable for carbon fiber surfaces. Apply the sealant evenly using a brush or roller. Allow the sealant to dry completely before exposing the vehicle to the elements. Sealing extends the lifespan of carbon fiber components.
Specialists in carbon fiber maintenance recommend regular inspections. Assess the condition of the material periodically. Perform necessary repairs promptly to prevent further damage. Seek expert advice on care and preservation for optimal results.
The carbon fiber installation process on your vehicle involves careful preparation, precise cutting, and secure attachment. Regular maintenance ensures the longevity of carbon fiber components. You should inspect the material periodically for damage. Prompt repairs prevent further deterioration. Applying a matte clear coat can enhance durability and appearance. A user from the SnipersHide Forum expressed disappointment with an unsealed carbon fiber stock. The user sought options to improve the finish. Sharing your experience can benefit others in the community. Your feedback helps refine techniques and products.
See Also
Choosing Top Carbon Fiber Aero Components for Your Vehicle
In-Depth Analysis of Carbon Fiber Aero Producers
